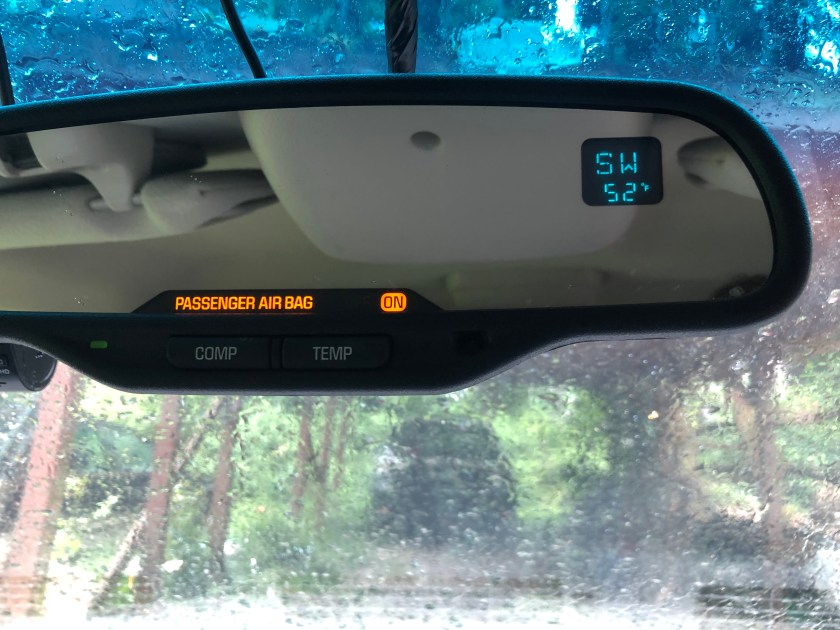
The mirror in our Suburban includes a small display which shows the compass heading and outside temperature, but it would intermittently shut off the display, and after a while it would not come on at all. Today I decided to take the mirror out and see what the problem was. To take the mirror off, there’s a Torx T20 screw in a hole where the mirror arm meets the mount at the windshield. Loosen this a few turns (you don’t need to remove it) and the mirror will slide up and off the metal mount that’s bonded to the windshield.
These are the clips that you need to disengage with the plastic tool
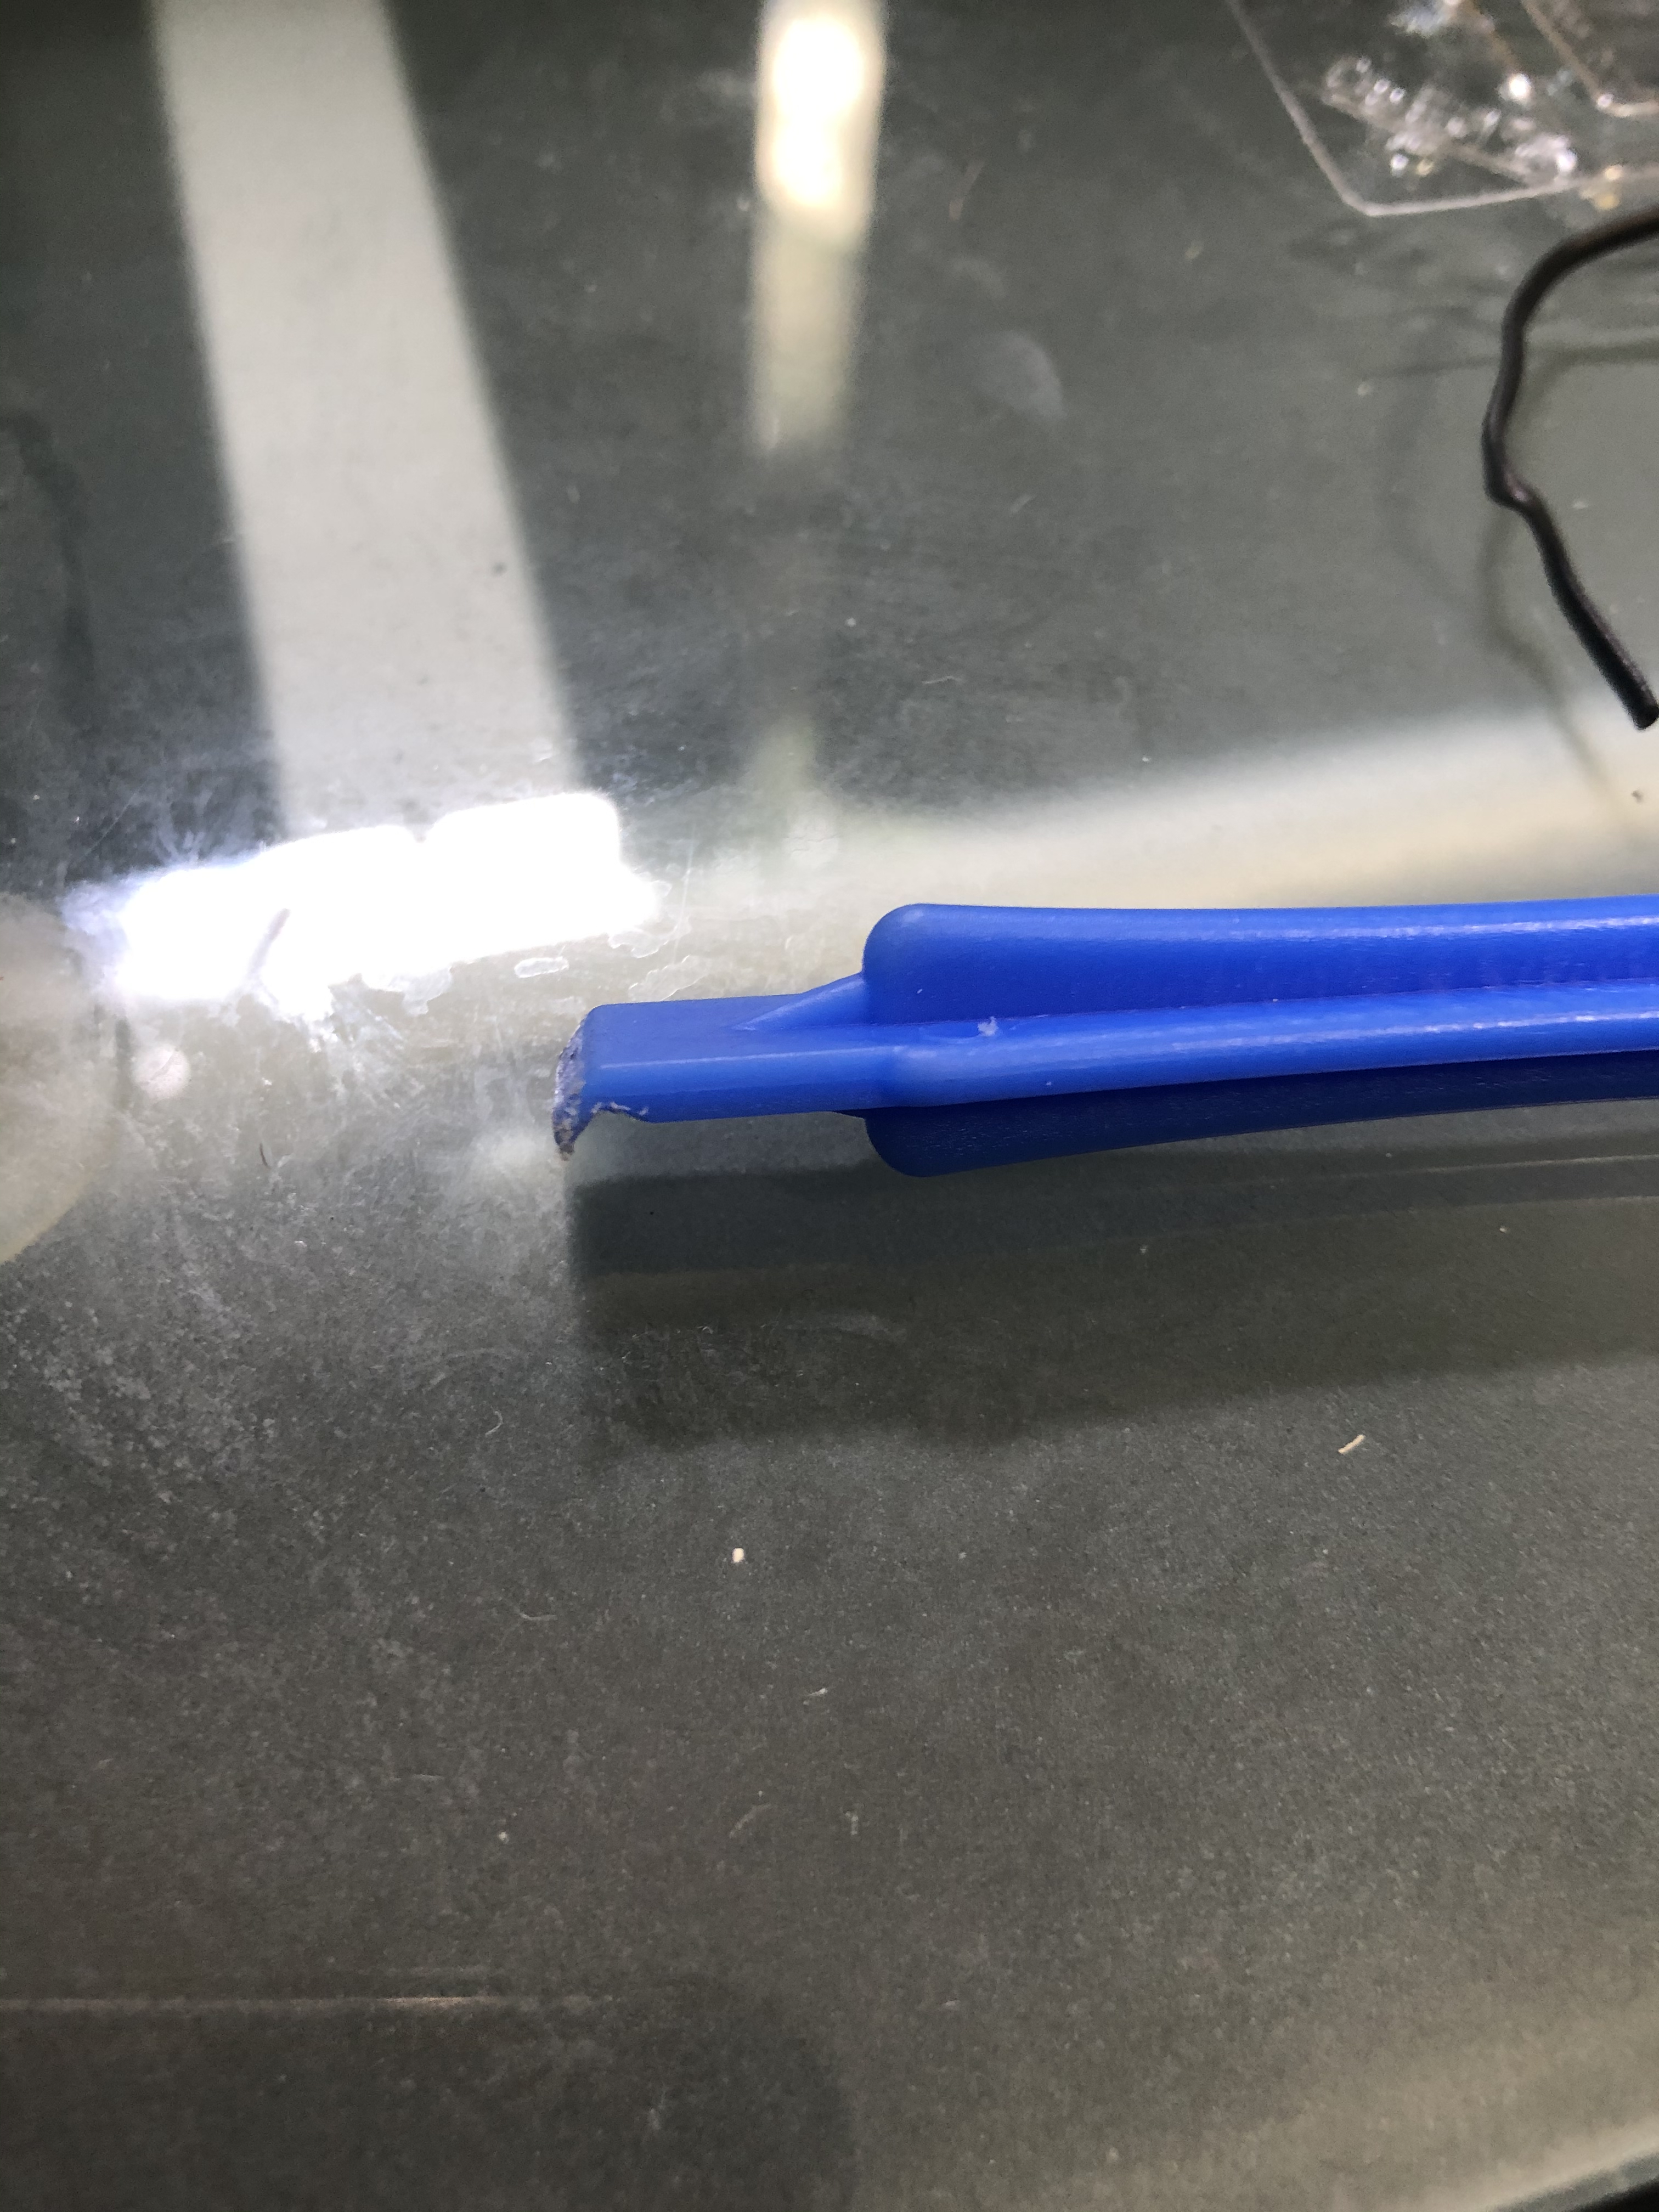
Once you get it off, the most difficult part is getting the mirror itself apart. There are no screws holding it together, just plastic snaps all around the edges. You will need a plastic opening tool or a small plastic prybar (I used one that came in an iPhone battery replacement kit, you can get a similar kit here that contains several of the plastic pry bars. Just put the tip of the prybar in the crack between the mirror body and the bezel, push downward and towards the front and slide the tool around the mirror and you will hear the clips pop free. It will take a fair amount of pressure but don’t press too hard. Don’t try to use a metal tool like a screwdriver or you will damage the plastic.
Once the bezel is off, hold the circuit board and glass carefully, and disconnect the electrical connector that is next to the display screen. It has several wires going to it and runs to the bigger connector on the back of the unit. There is another connector with just a black and red wire going to it that goes to the glass itself, this is what dims the mirror at night; if your auto dim function does not work, one of the wires may have popped off the glass (They are held on with a small metal clip at the top and bottom of the glass). You don’t need to disconnect this one, just lay the whole front part face down on something soft that won’t scratch the glass.
The three large dropping resistors that you need to reflow the solder on are near the top of this board
With the unit apart, you will see the small daughterboard that has the compass/temperature display screen on it. At the top are the three dropping resistors that drive the filaments in the display. These are what you need to reflow the solder on. If you don’t have a soldering iron, you can get a pretty decent kit here that contains everything you’ll need for small repairs. Don’t bust out the plumbing torch or heavy duty soldering gun, they are too much heat and will damage the board. Also, make sure you use electronics solder as plumbing solder contains acid and will destroy the contacts on the board. If you’re not sure how to solder, you can find a tutorial on YouTube pretty easily, although if you don’t trust your skills you might be better off just finding a rebuilt mirror unit on eBay. On mine I reflowed each resistor and added a little bit of solder to each one, and also reflowed the pins on the left hand side of the board that connect the smaller board to the main mirror control board.
And now we have a working display
Once all this was done I just lined everything back up, reconnected the wiring, and snapped the unit back together. There are two small standoffs in the front bezel that fit into holes in the label card (Small plastic thing with “Passenger Air Bag” printed on it, yours may be different depending on options) and then the circuit board itself will also fit over these pins. If it’s not snapping back together, these might not be lined up properly. Once it’s all back together, slide it back onto the mirror mount and tighten the screw to hold it in place, and reconnect the connector at the rear of the mirror. Turn on the key and you should be greeted by the compass heading and/or temperature (you may need to press the appropriate button to turn the display on).
A few months ago, I bought my wife a 2003 3/4 ton Suburban, as our family was outgrowing our Outback and our Prius, and we inherited my grandmother’s travel trailer so needed a suitable tow vehicle. (Getting two large dogs, a baby, all the baby paraphernalia, and things for more than a day trip even in the Subaru was becoming a chore that my wife and I refer to as “adult Tetris”) I had looked at one that needed a bunch of work, but it was super cheap, and since I am not opposed to picking up a wrench I had a friend go check it out for me. It ended up being a total pile, and needed far more work than I wanted to deal with, but she offered me hers for a deal since it needed some work, downside being it’s the 6.0 instead of the 8.1, and it’s 2WD, but they had gotten it from the original owner and it was well cared for.
The other work I had to do to it is definitely a subject for a future blog post (Sadly I did not get a lot of pictures during that process so I fear those posts might be somewhat boring) but one of the problems I had to figure out was the instrument cluster. The original cluster had been “borrowed” for one of their other rigs, and since it had over 200,000 miles racked up on it they bought a used cluster from eBay before I took possession of it. Unfortunately, the seller sent them the wrong cluster and never got back to them about making it right. So the cluster had the wrong mileage, and being a Silverado cluster it threw a “Service brake booster” warning at startup, since the trucks use a vacuum booster and the Suburban (and possibly the Tahoe too but not sure) uses a hydrobooster (This uses the power steering pump to provide brake assist, instead of engine vacuum).
I did some poking online and the general gist was I was going to have to either find someone with a GM TIS2000 and/or a Tech2 scan tool, or go drop a Benjamin at the GM dealer to get it reprogrammed, and from what I gathered they would not be able to adjust the mileage, as the GM tool only lets you input the mileage if the cluster is new and does not have any mileage recorded on it. Last week I was digging around and stumbled upon this post from user DougAMiller over at the Tahoe-Yukon forum. Doug was attempting to add a transmission temperature gauge to his Tahoe, and through using an SPI EEPROM programmer had dumped the contents of the EEPROM on the cluster itself that stores various features in addition to vehicle mileage, the VIN, and engine run hours.
Programmer connected to U15
In addition to the replacement cluster, you will also need an SPI programmer. These can get quite fancy and cost upwards of $60 or more, the one I bought is a fairly basic one for 24xx and 25xx chips but was much cheaper. The important part is to get one that comes with a test clip as then you do not have to desolder the chip from the board. The kit I used you can buy here and it is a good kit for the price. You will also need suitable software, I used AsProgrammer under Windows as the cluster’s chip wasn’t supported by flashrom under Linux, which I normally use for firmware programming. You can find more information on using this tool as well as a CH341A programmer tutorial at OneTransistor
From Doug’s post, this is how the parts he figured out are stored in the EEPROM:
The odometer value is repeated three times for data integrity. First two bytes are the most significant and the least significant byte is roved over the next 10 bytes since this is written every 1/10 of a mile and the EEPROM is spec’ed for 1 million write cycles. This would stay within spec for 1 million miles.
Engine hours is stored once as four bytes, although I can’t imagine needing the fourth byte, divide by 10 since it is recorded to 1/10 of an hour, and it is stored LSB→MSB.
TransTemp 0x000059 0 – Yes 1 – No
Vehicle Settings 0x00005A 0 – English 1 – French 2 – Spanish 0x00005B 0 – Imperial 1 – Metric
The VIN is stored as plain text, that is, the characters are encoded in ASCII and written as hex. Last 4 characters from label bar code stored as plain text, serial number maybe? GM 8 digit Part Number for cluster is stored in hex format MSB→LSB Cluster model ID is 4 large characters from the label. Also stored as ASCII plain text. Trip meter value is in speedometer pulses, e.g. miles = value/4000, it is stored LSB→MSB. Took me a while to figure out how they were encoding this, but it means that your trip meter is accurate to about 15 inches!. It’s probably only updated in volatile memory and stored periodically or at shutdown, otherwise it would wear out the memory location pretty quickly.
Not stored in cluster: Vehicle settings menu, except language (1) and units (2) Timer Fuel used
Above you can see how the memory contents looked when I initially dumped the EEPROM on the cluster. In order to read the chip, I used the settings for a 95020 as the number that’s on the chip itself doesn’t come up in the search box in AsProgrammer, but if you’re using a different tool or something like a DediProg with an autodetect feature it should come up automatically. The EEPROM is a 256 byte chip, on mine it configured 256 for chip size, 8 for page, and 95xx for commands. A quick note, sometime around 2005 GM switched the location of U15 and U16, on the later clusters the EEPROM is in the location next to the PRNDL display instead of off to the side where it is on mine. For the newer ones you have to GENTLY shift the PRNDL screen out of the way to get the test clip onto the IC, so for newer clusters the smaller of a clip you can get the better.
If you note down towards the end, address 0x0000009x in the text box to the right you can see *DWFY, this four letter code will correspond to a sticker on the back of the cluster itself. This is the model ID, and it’s what the cluster’s onboard processor uses to determine messages and what equipment is present in the vehicle, as far as I can tell anyway. I poked around on Google Images and found a picture of a 2003 Suburban instrument cluster for sale, and it had DSXR on the sticker instead of DWFY, so using the editor on a copy of the file I dumped I changed the DWFY to DSXR and wrote the changes back to the chip. The cluster now shows the proper door/gate ajar messages, and no longer has that pesky “Service Brake Booster” message at startup.
Success!
The mileage is a bit tricky, as it’s encoded in HEX, and it’s written in three places for data integrity. If you bought a used cluster off eBay, or went to the local Pick N Pull, but you have your original cluster still you can just use the SPI programmer to dump the contents of the EEPROM on your original cluster, and then program this into the chip on the new cluster and away you go – this will copy the mileage and the VIN over as well as your trip meter, engine hour meter, and settings from the old cluster. Since I didn’t have access to the old cluster, but I did know what the truck’s correct was I had to program it myself. The mileage is stored down to the tenth of a mile but the odometer doesn’t display the tenth. In my example photo above, the mileage is recorded as 15 EC 3D which converted to decimal is 1,436,733 or 143,673.3 miles. Convert the correct mileage to hexadecimal and write these back to the EEPROM to correct the mileage. For example, if the correct mileage is 150,000 you would convert 1,500,000 to hexadecimal and write this back to the chip. Remember the last two bytes are written sequentially over a range of addresses for wear leveling so the last two are not necessarily going to be next to the first four bytes, and you need to change all three copies.
A note on changing the mileage – this in and of itself is NOT illegal, but odometer FRAUD is… Setting a used cluster to the correct mileage of your vehicle is perfectly fine, as is setting the mileage in a new cluster, but if you take your vehicle with 350,000 miles on it and change it to 150,000 miles to make it easier to sell, THAT is illegal.
Quick update
It’s a few days later and the “service brake booster” message didn’t go away as I thought it had, so I’ll have to dig around in the eeprom some more and see if I can figure it out. May have to just flip bits by trial and error…
Product links are affiliate links and we may earn a commission on products purchased through them

 Once you get it off, the most difficult part is getting the mirror itself apart. There are no screws holding it together, just plastic snaps all around the edges. You will need a plastic opening tool or a small plastic prybar (I used one that came in an iPhone battery replacement kit, you can get a similar kit here that contains several of the plastic pry bars. Just put the tip of the prybar in the crack between the mirror body and the bezel, push downward and towards the front and slide the tool around the mirror and you will hear the clips pop free. It will take a fair amount of pressure but don’t press too hard. Don’t try to use a metal tool like a screwdriver or you will damage the plastic.

 Above you can see how the memory contents looked when I initially dumped the EEPROM on the cluster. In order to read the chip, I used the settings for a 95020 as the number that’s on the chip itself doesn’t come up in the search box in AsProgrammer, but if you’re using a different tool or something like a DediProg with an autodetect feature it should come up automatically. The EEPROM is a 256 byte chip, on mine it configured 256 for chip size, 8 for page, and 95xx for commands. A quick note, sometime around 2005 GM switched the location of U15 and U16, on the later clusters the EEPROM is in the location next to the PRNDL display instead of off to the side where it is on mine. For the newer ones you have to GENTLY shift the PRNDL screen out of the way to get the test clip onto the IC, so for newer clusters the smaller of a clip you can get the better.
