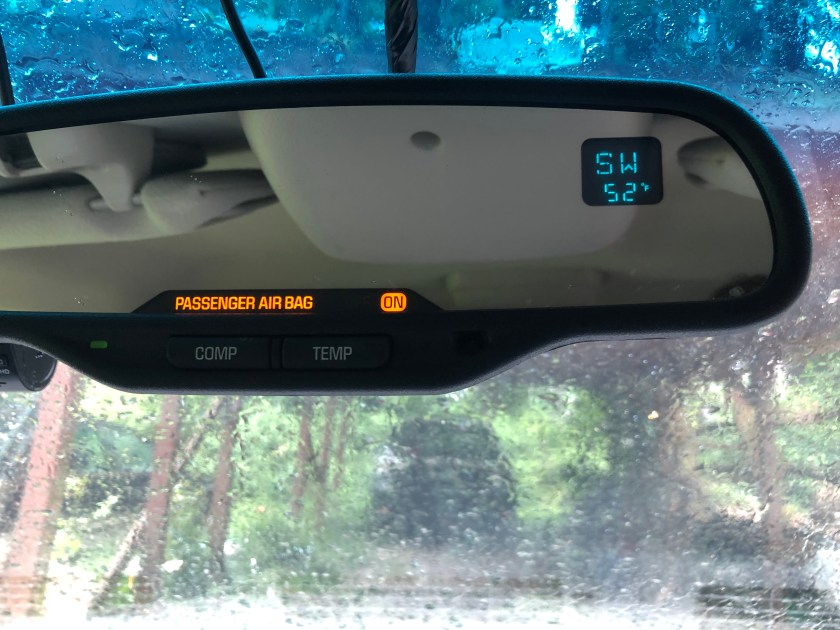
The mirror in our Suburban includes a small display which shows the compass heading and outside temperature, but it would intermittently shut off the display, and after a while it would not come on at all. Today I decided to take the mirror out and see what the problem was. To take the mirror off, there’s a Torx T20 screw in a hole where the mirror arm meets the mount at the windshield. Loosen this a few turns (you don’t need to remove it) and the mirror will slide up and off the metal mount that’s bonded to the windshield.

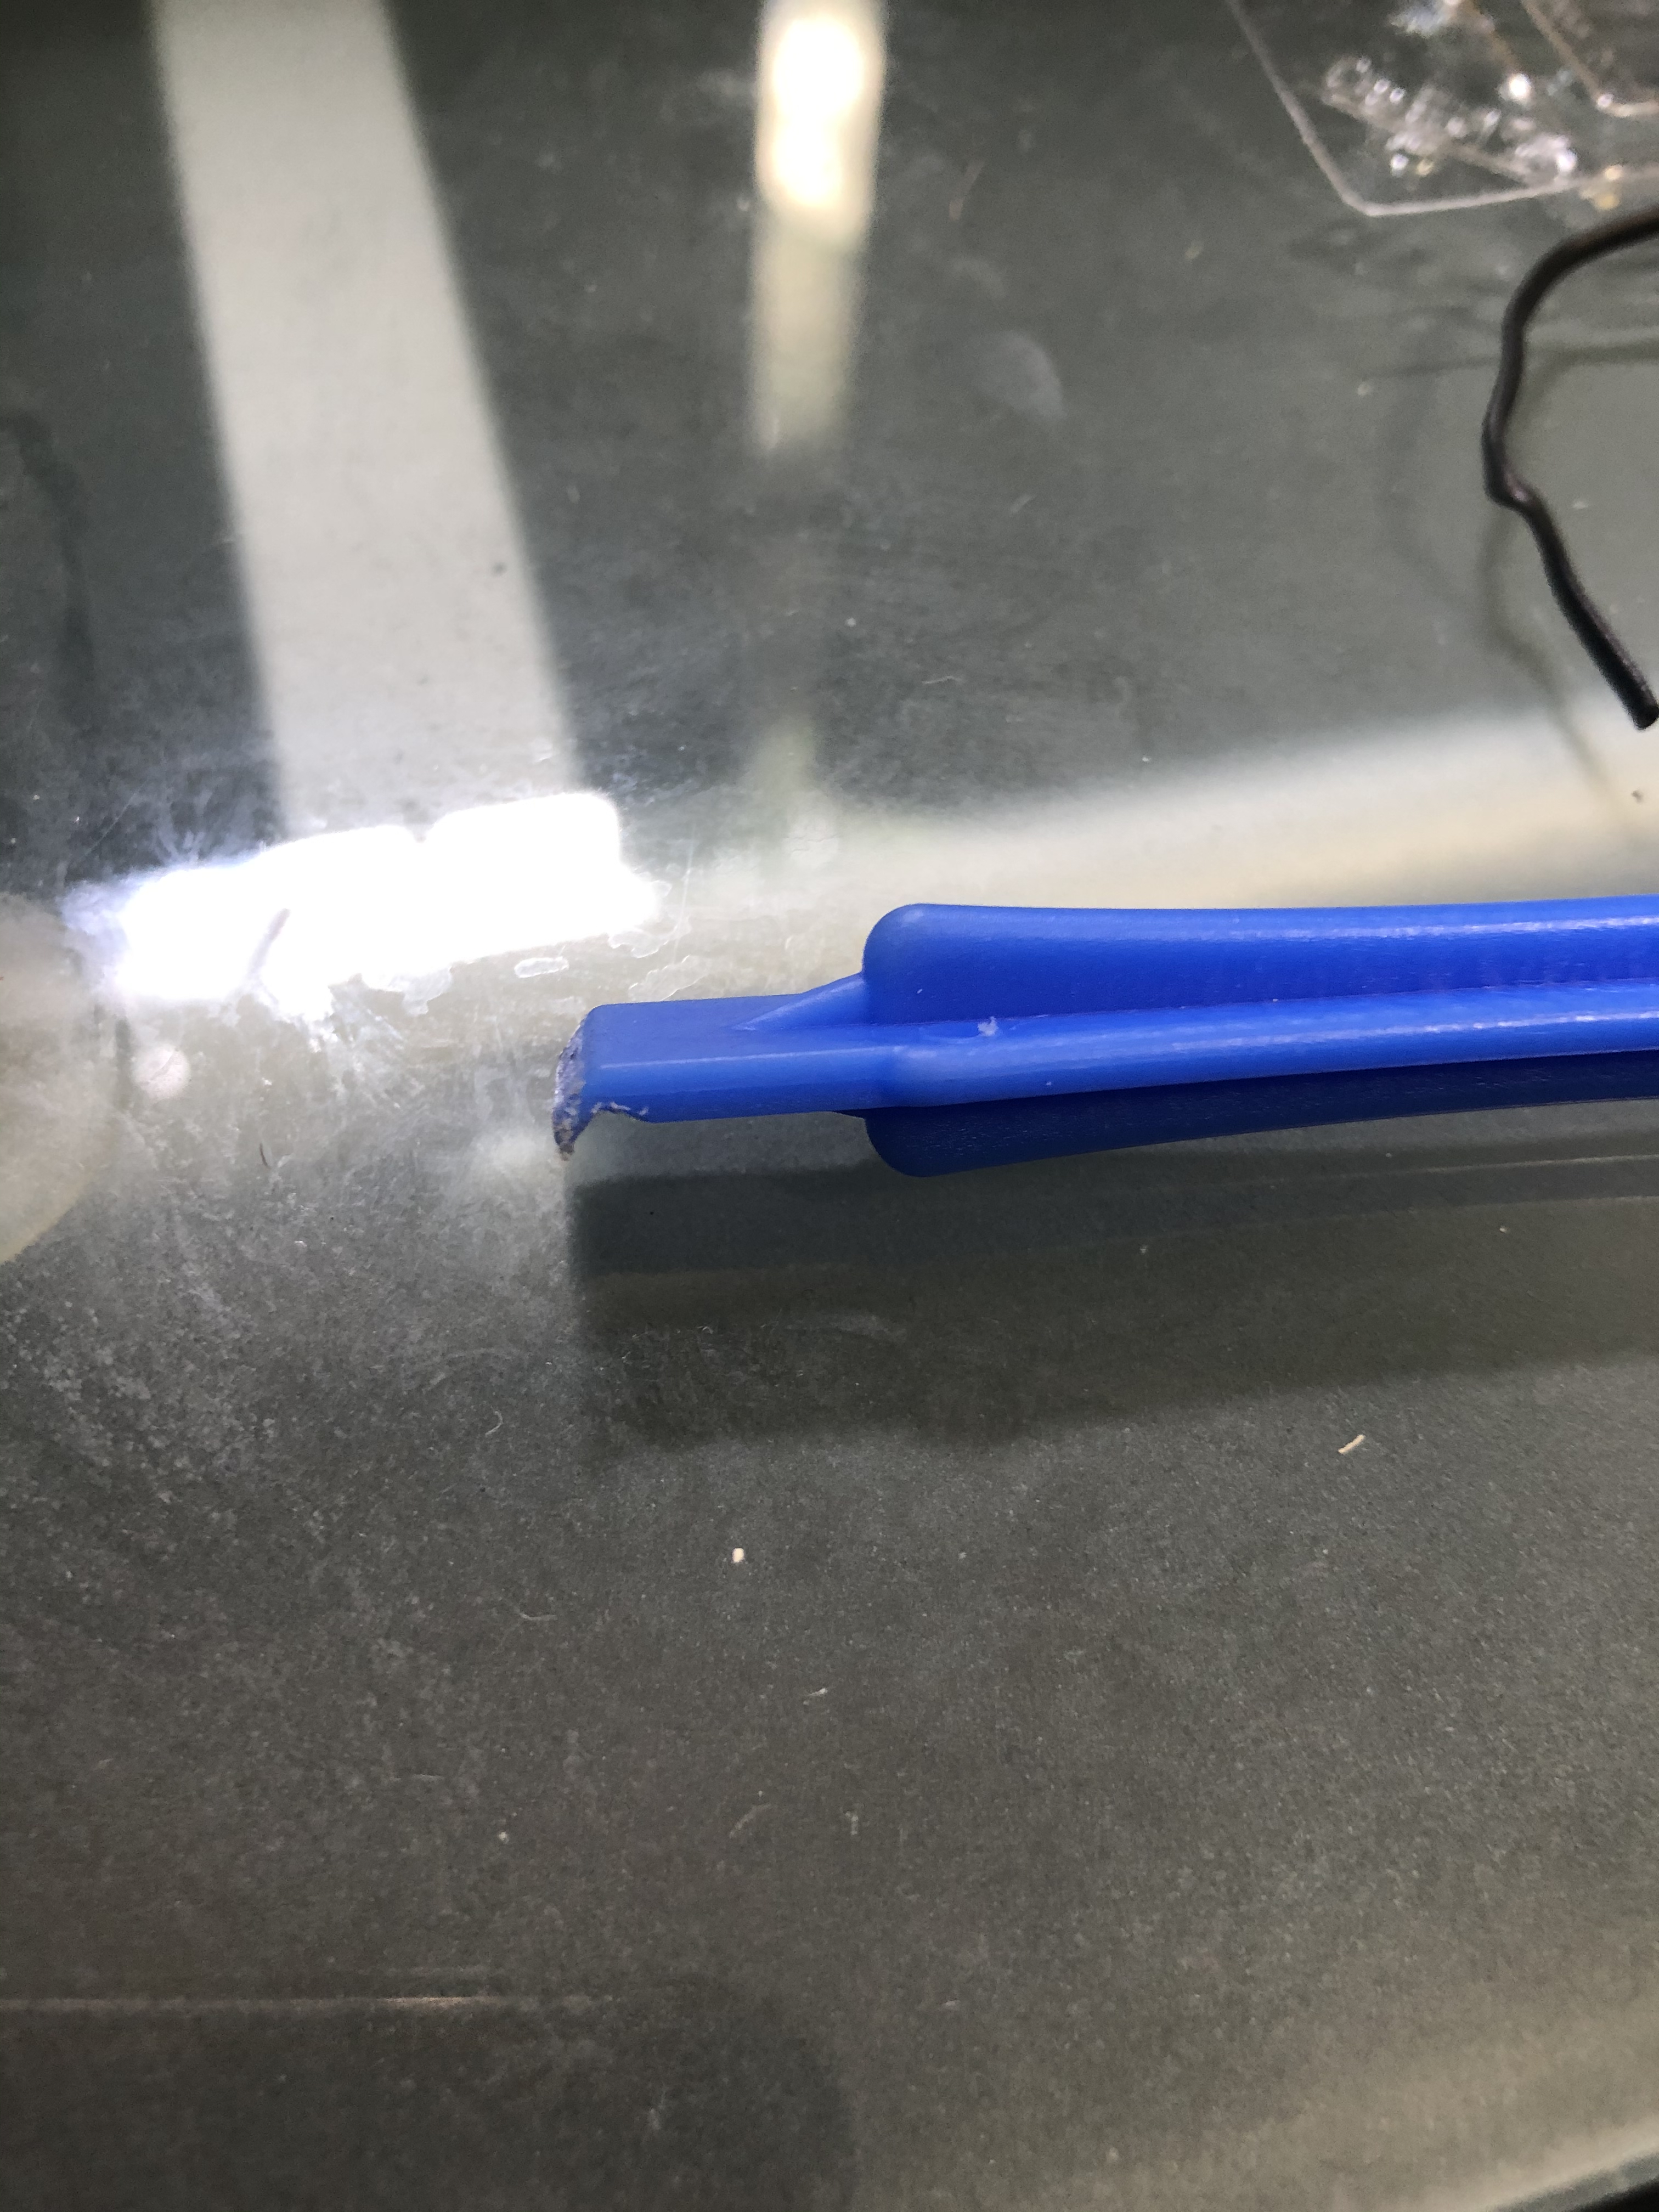 Once you get it off, the most difficult part is getting the mirror itself apart. There are no screws holding it together, just plastic snaps all around the edges. You will need a plastic opening tool or a small plastic prybar (I used one that came in an iPhone battery replacement kit, you can get a similar kit here that contains several of the plastic pry bars. Just put the tip of the prybar in the crack between the mirror body and the bezel, push downward and towards the front and slide the tool around the mirror and you will hear the clips pop free. It will take a fair amount of pressure but don’t press too hard. Don’t try to use a metal tool like a screwdriver or you will damage the plastic.
Once the bezel is off, hold the circuit board and glass carefully, and disconnect the electrical connector that is next to the display screen. It has several wires going to it and runs to the bigger connector on the back of the unit. There is another connector with just a black and red wire going to it that goes to the glass itself, this is what dims the mirror at night; if your auto dim function does not work, one of the wires may have popped off the glass (They are held on with a small metal clip at the top and bottom of the glass). You don’t need to disconnect this one, just lay the whole front part face down on something soft that won’t scratch the glass.

With the unit apart, you will see the small daughterboard that has the compass/temperature display screen on it. At the top are the three dropping resistors that drive the filaments in the display. These are what you need to reflow the solder on. If you don’t have a soldering iron, you can get a pretty decent kit here that contains everything you’ll need for small repairs. Don’t bust out the plumbing torch or heavy duty soldering gun, they are too much heat and will damage the board. Also, make sure you use electronics solder as plumbing solder contains acid and will destroy the contacts on the board. If you’re not sure how to solder, you can find a tutorial on YouTube pretty easily, although if you don’t trust your skills you might be better off just finding a rebuilt mirror unit on eBay. On mine I reflowed each resistor and added a little bit of solder to each one, and also reflowed the pins on the left hand side of the board that connect the smaller board to the main mirror control board.
Once all this was done I just lined everything back up, reconnected the wiring, and snapped the unit back together. There are two small standoffs in the front bezel that fit into holes in the label card (Small plastic thing with “Passenger Air Bag” printed on it, yours may be different depending on options) and then the circuit board itself will also fit over these pins. If it’s not snapping back together, these might not be lined up properly. Once it’s all back together, slide it back onto the mirror mount and tighten the screw to hold it in place, and reconnect the connector at the rear of the mirror. Turn on the key and you should be greeted by the compass heading and/or temperature (you may need to press the appropriate button to turn the display on).
